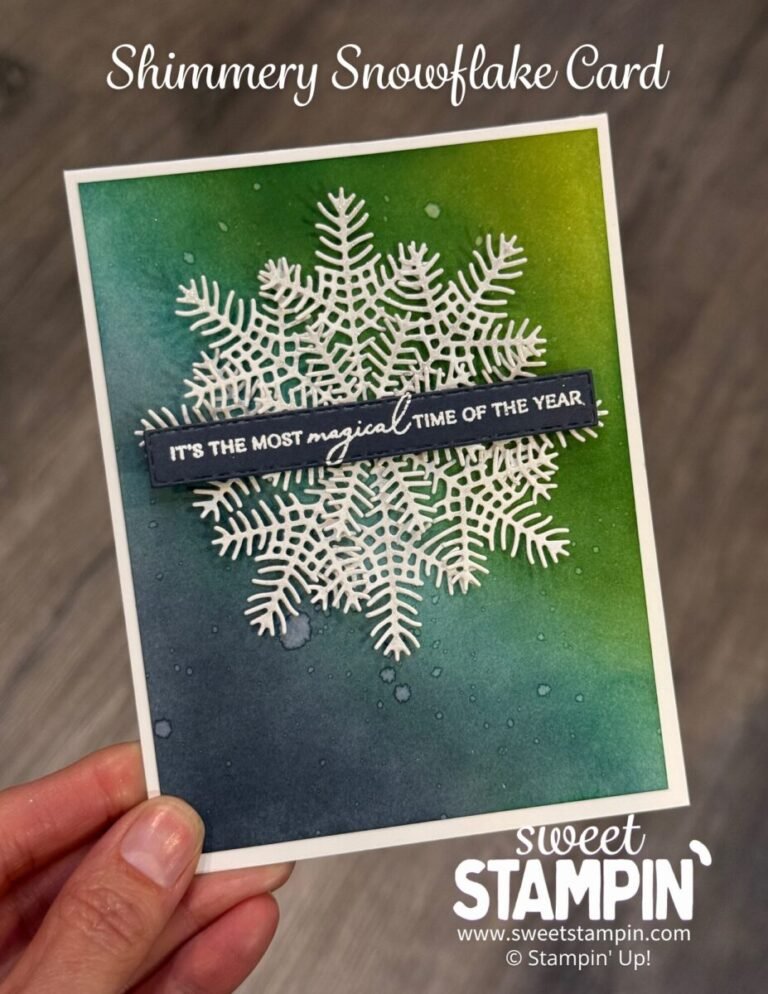
Fence Card

Create this fence card with the Textured Floral stamp set and dies bundle and a bit of watercoloring magic! For the flowers, I stamped the stems in Garden Green and then spritzed them with water and stamped them on Watercolor Paper. Then I did the same for the flowers in Daffodil Delight. I added a bit of Crushed Curry to the flowers before they dried. It creates a really lovely watercolored look without having to draw a flower!
Then I took one piece of 4″ x 5-1/4″ and two 2″ x 4″ pieces of Watercolor Paper and painted the whole front with water and then added some Garden Green ink in several spots and used the second pieces to cut out two of the leaf dies. After the first piece dried I used the Biggest Wish stamp set to say “thank you” by using different stamps to create the word “you” and adhered it to the inside of the card.
Here is a picture of the inside of the fence card:

To create the fence, I trimmed five 1/2″ strips off the front of the card and use the Timber Embossing folder to emboss the strips to give them a wood-like appearance! I added three more strips of 3-1/2″ x 1/2″ for the fence posts and used the Banners Pick a Punch to create the top of the posts.
To assemble the fence, I used the grid paper and placed the card base upside down so that I could add four strips of card stock starting at 8-1/2″. But in class last night, my friend discovered an easier way to assemble the fence! She added the fence posts to the front and then turned the card over and added the fence strips. She found that to be much easier! (She should be a demonstrator!)
After the fence is assembled, add the watercolored leaves with liquid glue and then the flowers with dimensionals. Adhere the sentiment with dimensionals too.
Watch the video tutorial below to see how I created this card.
Fence Card Video Tutorial
Special offers – Free Card Kit, Rewards & Tutorials!
Get this card kit for just a $5 shipping fee when you place a $50 order using my current host code (you can find at the top of the right sidebar on my homepage). There are supplies for two of each card for a total of six cards in each card kit! Please email me and let me know you would like this card class! All classes are available to go!
And when you place a $50 order online using my current host code, you’ll receive a free gift in the mail from me as part of my rewards program! You’ll also receive my Exclusive Stamp Tutorials at the end of the month!
Please make sure you do not have “no contact” selected from previous orders or I will not be able to send your gift.
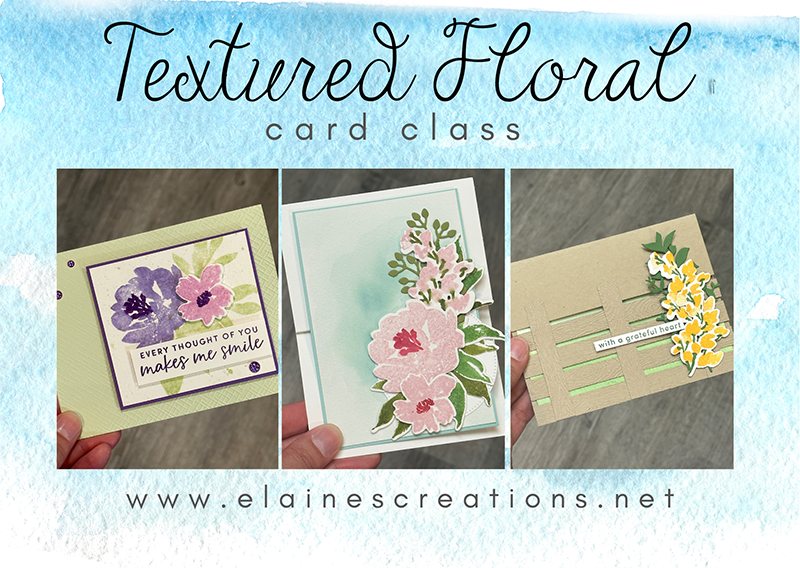
Here are all the links to products that I used to create this card!
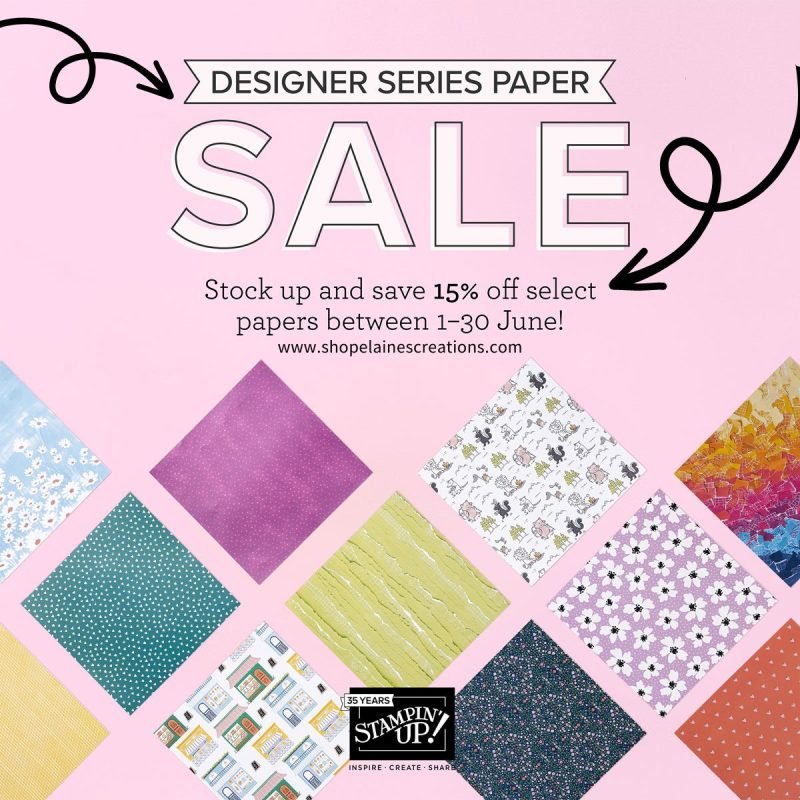
Last Day! 15% Off Select Designer Series Papers!
Get 15% off select Designer Series Paper during the month of June!
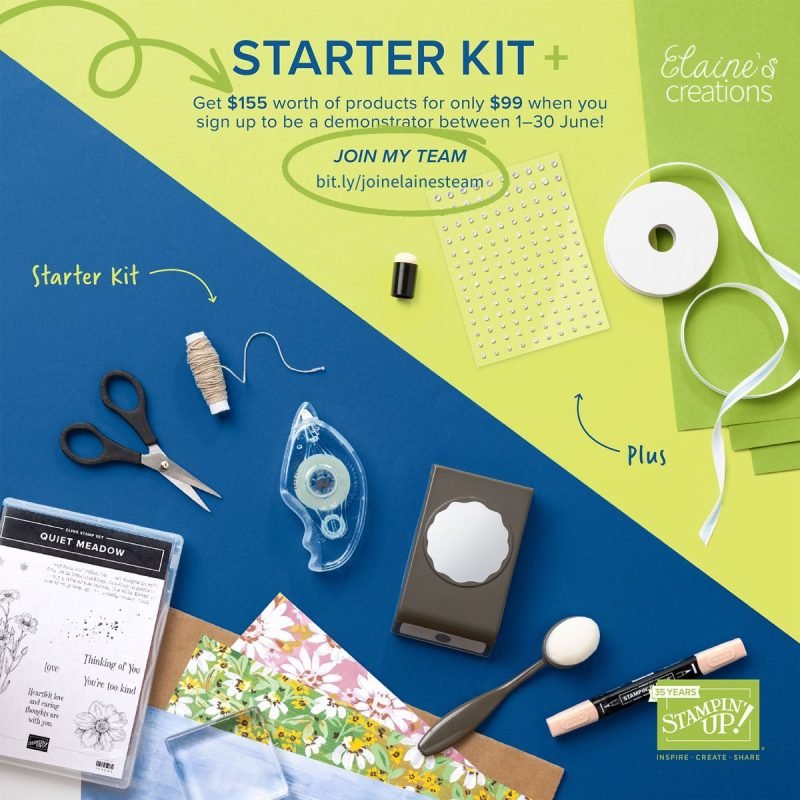
Only a Few Days Left! Starter Kit+
It’s a fabulous time to join my team and Stampin’ Up! New team members will get even more FREE products in their customizable Starter Kit. Between 1–30 June, you can get $125 USD | $155 USD worth of products for only $99 USD + free business supplies + free shipping + all the fun being a part of Stampin’ Up! Use the resources provided below to spread the word before time runs out!
Subscribe to the July Paper Pumpkin Kit!
Get tanning AND crafting in the sun this summer!
Say hello to summer and get crafting under the sun with this month’s kit! The Fun in the Sun Paper Pumpkin Kit includes fun beach designs along with positive words of kindness you’ll want to use and share with those you love all summer long! Take your cards to the next level with the fun summertime theme and accordion folds in this kit, and send friends and loved ones uplifting cards to support, encourage, say hello, and more!

THIS MONTH’S KIT INCLUDES:
- All the supplies you need to create 9 cards: 3 each of 3 designs; and 9 coordinating envelopes
- An all-occasion stamp set to support and encourage those you love
- Pearlescent Backed Sequins.
- Summertime Ephemera Pack
- Precut die cuts
- One Daffodil Delight Stampin’ Spot
