How to Make a Paper Star/Snowflake
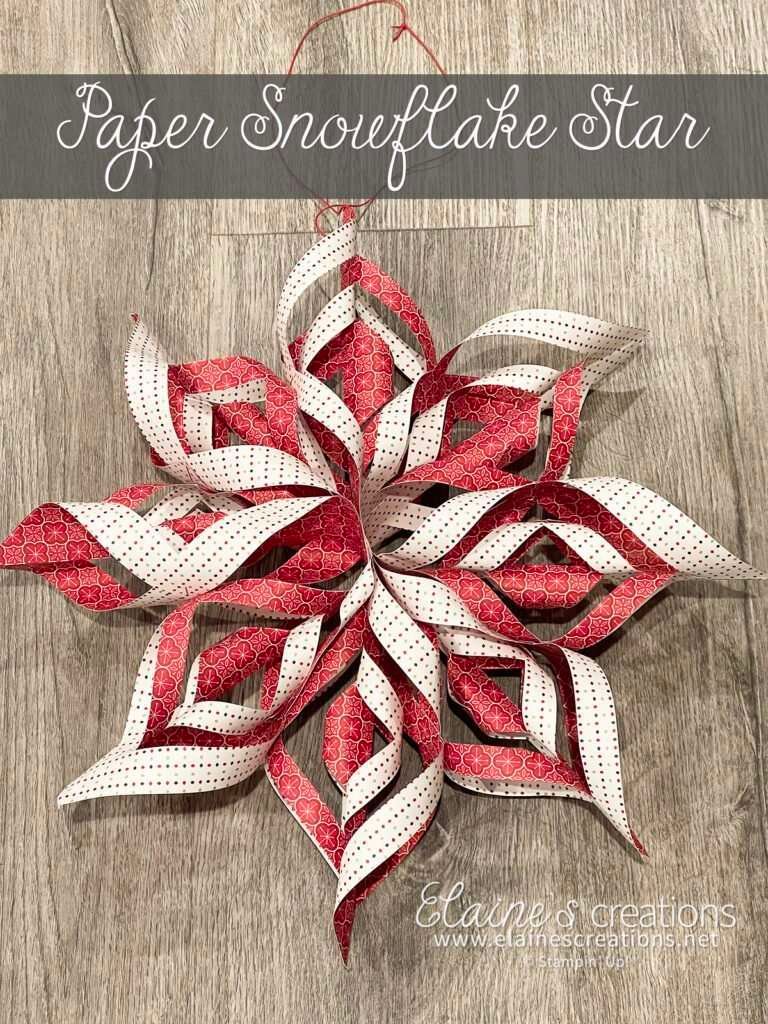
Create this paper snowflake star with any two-sided Designer Series Paper! The Heartwarming Hugs Designer Series Paper is perfect for creating these paper stars. Start with any size square. I used 6×6 squares. Fold the paper diagonally in half twice.
Then make three evenly spaced cuts on the folded edge almost to the double folded edge. Open the Designer Series Paper back up and curl the first two points towards each other and staple or hot glue them together. I prefer using staples because it is faster and I don’t get burned! Then flip the paper over and curl the next two points towards each other and adhere them together. Flip again and adhere the next two points together. And then repeat one last time.
When you have six pieces completed, adhere three together facing the same way. Then adhere the other three together. Lastly, attach the two bunches of three together, punch a hole at the top of one of the pieces and thread a string through. Once you get the hang of it, you’ll love how easy it is and what a pretty paper star or snowflake you can create!
Check out my video where I show how to create a paper star/snowflake!
Place a $50 order online using my current host code (you can find it on the top of the right sidebar on the homepage) and you’ll receive a free gift in the mail from me as part of my rewards program! You’ll also receive my Exclusive Stamp Tutorials at the end of the month! Please make sure you do not have “no contact” selected from previous orders or I will not be able to send your gift.
Here are all the links to products that I used to create this project!

