How to Make a Shadowbox Card!
Painted Christmas Suite
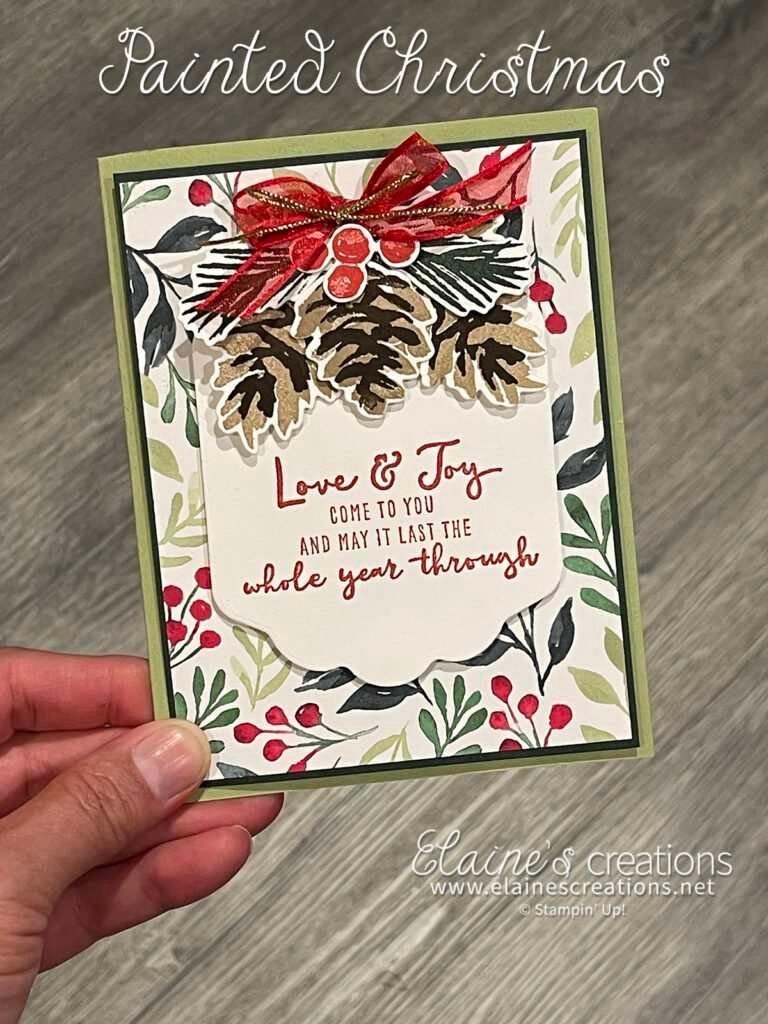
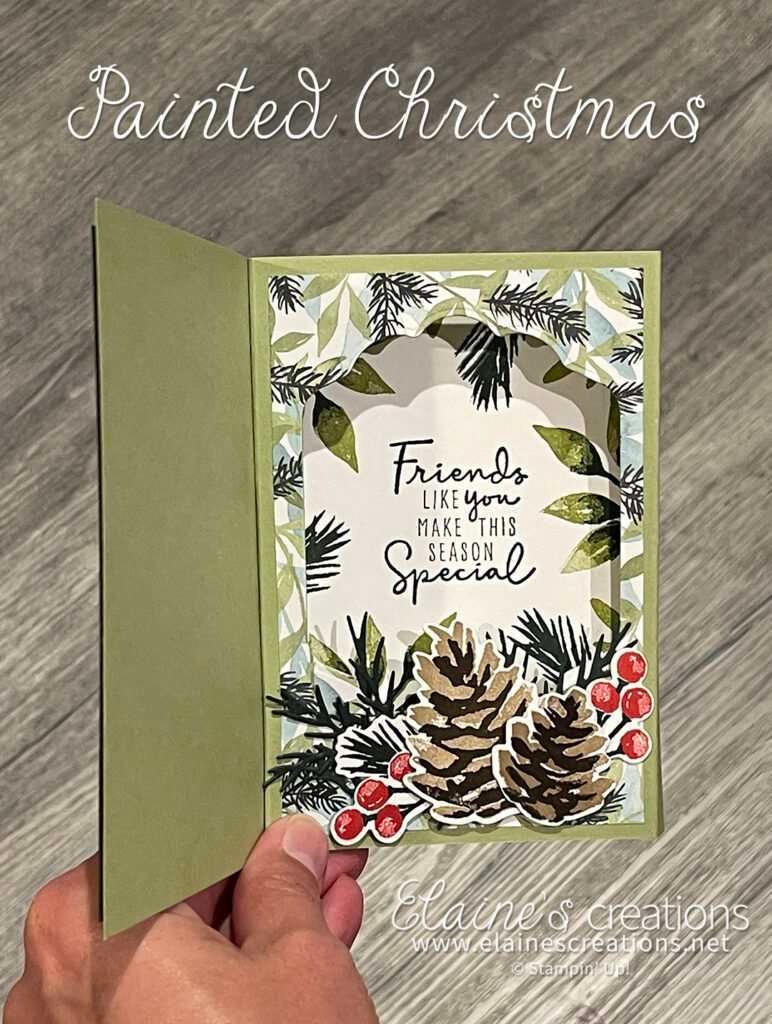
Create this shadowbox card with the Painted Christmas Suite of products. Start with two pieces of 8-1/2″ x 5-1/2″ Pear Pizzazz card stock. Score the first piece at 4-1/4″ and then cut it down to 8″ wide. Score the second pice at 1/2″, 4-1/4″, and 4-3/4″. Trim a sliver off the 1/2″ scored side. This will help the piece fit better inside the first piece of card stock.
Part 1 – The Front of the Shadowbox Card
For the front of the card, stamp the pinecones, boughs, and berries with the Christmas Season stamp set and then use the Seasonal Labels dies to cut them out. Cut out the largest label from the Seasonal Label dies and stamp the sentiment in Real Red. Then add the pinecones, boughs and berries to the top. Tie a bow and add some Real Red Sheer ribbon and Gold Trim to the top of the label.
Second Part – The inside of the Shadowbox Card
For the inside of the card, adhere a 3-1/2″ x 5-1/4″ sheet of Painted Christmas Designer Series Paper to the card stock right between the first and second score lines. Use the largest label die from the Seasonal label dies to cut a frame out of the middle.
Stamp and decorate a piece of 3-1/2″ x 5-1/4″ Basic White card stock. Adhere the stamped card stock to the inside of the first piece of card stock.
Finish the Shadowbox Card
Use strong adhesive along the 1/2″ tab and place the whole piece inside the first card, making sure to line up the edge of the second pice to the score line of the first piece. Wrap the second piece around and to the back of the first piece and add some adhesive to the edge and lay the card flat to adhere. Trim off any excess.
Use the Christmas Pinecone Dies to cut up some pine boughs and add those to the bottom along with some stamped pinecones, boughs and berries. Enjoy watching the inside pop up every time you open the card!
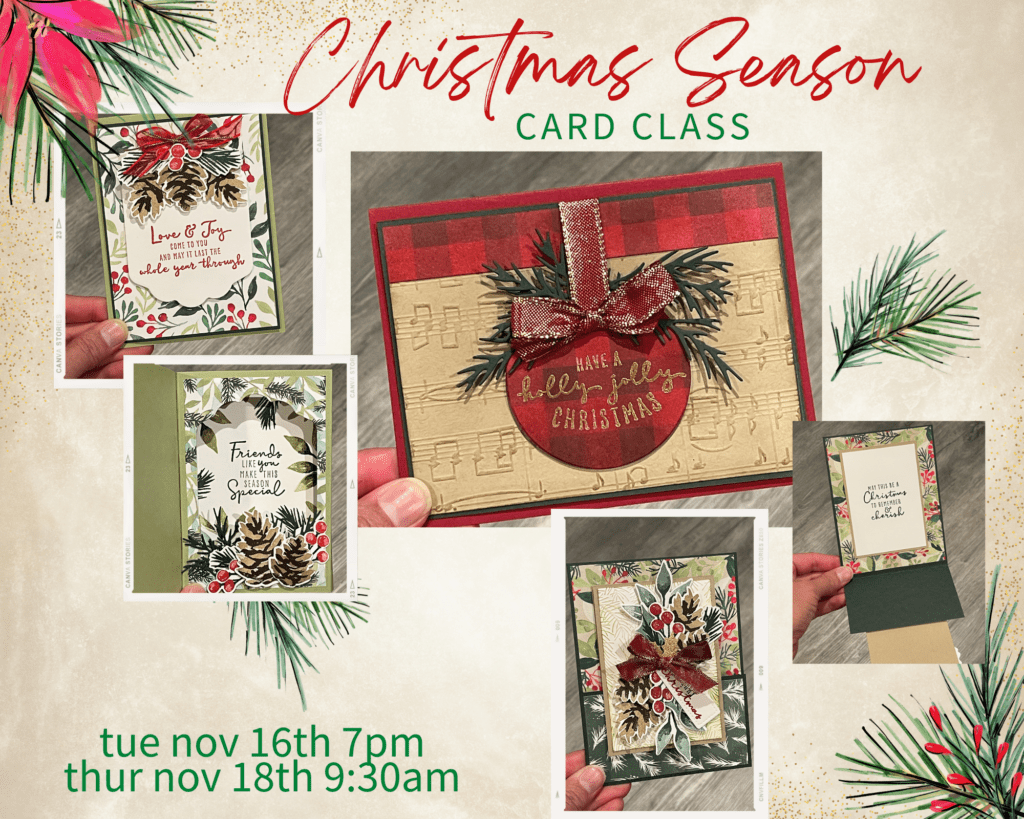
Check out my YouTube Live where I show how to create all the cards in my card kit – a shadowbox card and some fun fold cards.
Purchase the bundle or place a $40 order using my current host code (you can find it on the top of the right sidebar on the homepage) and I will send you this card kit for free! Please email me and let me know you would like this card class! All classes are available to go!
Place a $50 order online using my current host code (you can find it on the top of the right sidebar on the homepage) and you’ll receive a free gift in the mail from me as part of my rewards program! You’ll also receive my Exclusive Stamp Tutorials at the end of the month! Please make sure you do not have “no contact” selected from previous orders or I will not be able to send your gift.
Here are all the links to products that I used to create this card!
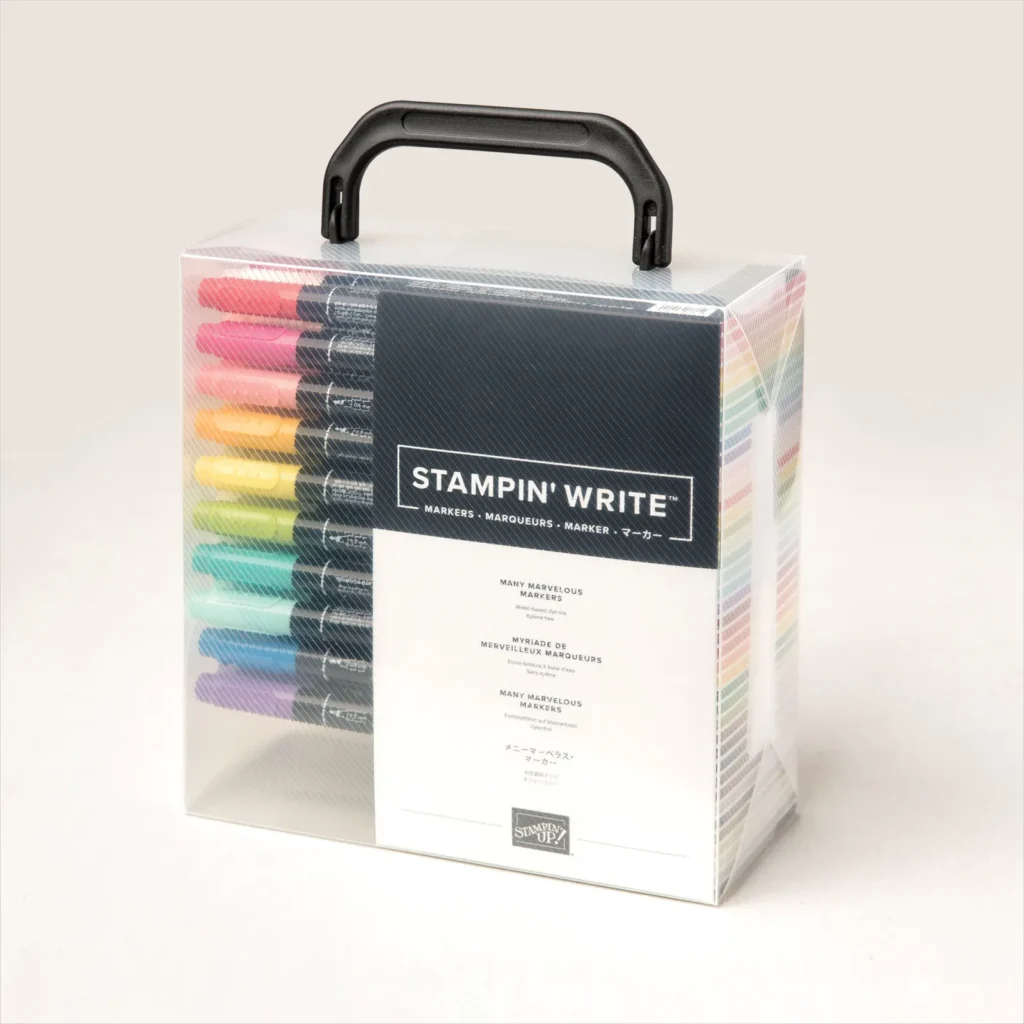
My Birthday Special! Win the Whole Set of Many Marvelous Markers!
November is my birthday month, so I want to give you a gift! Just place a $50 US merchandise (before tax and shipping) order during November and you’ll be entered to win the whole case of Many Marvelous Markers! I will draw a winner when I have ten orders. And if I get get ten more orders, I’ll give away another set!
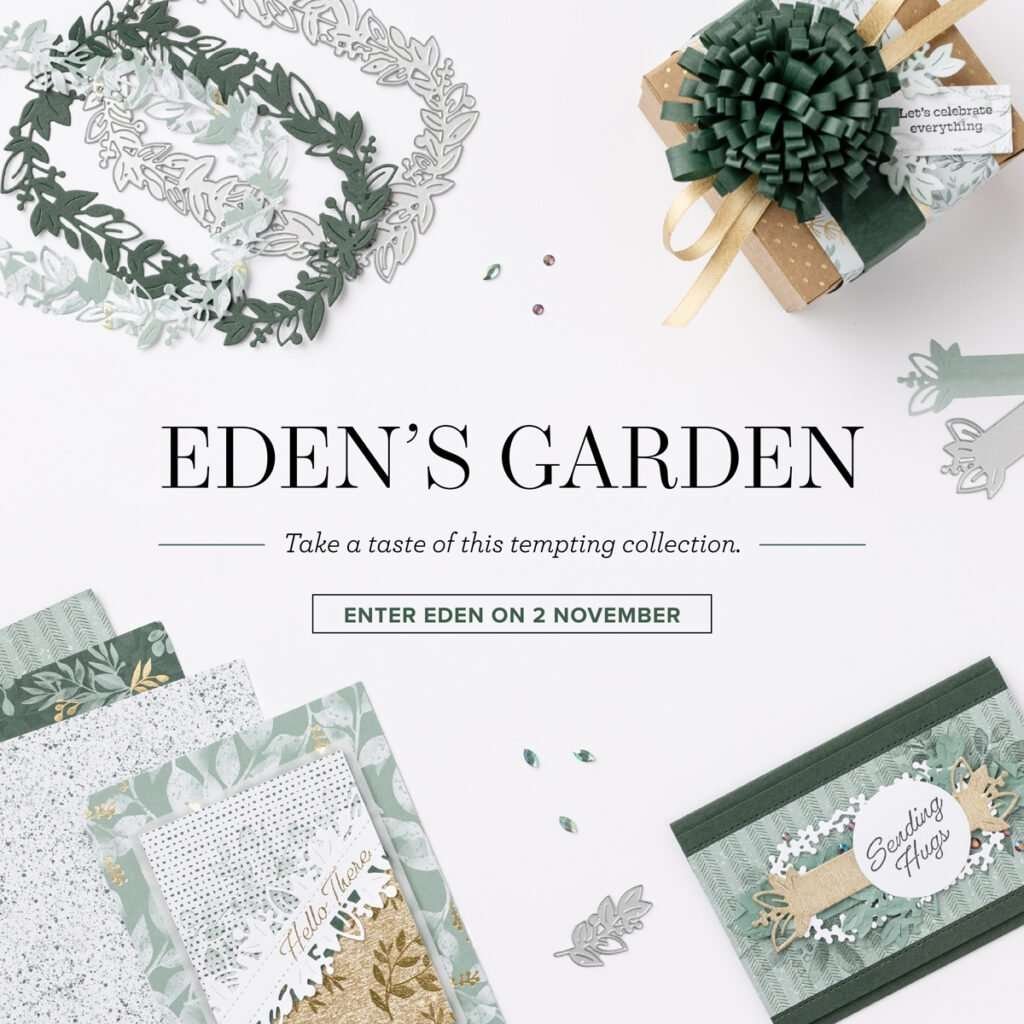
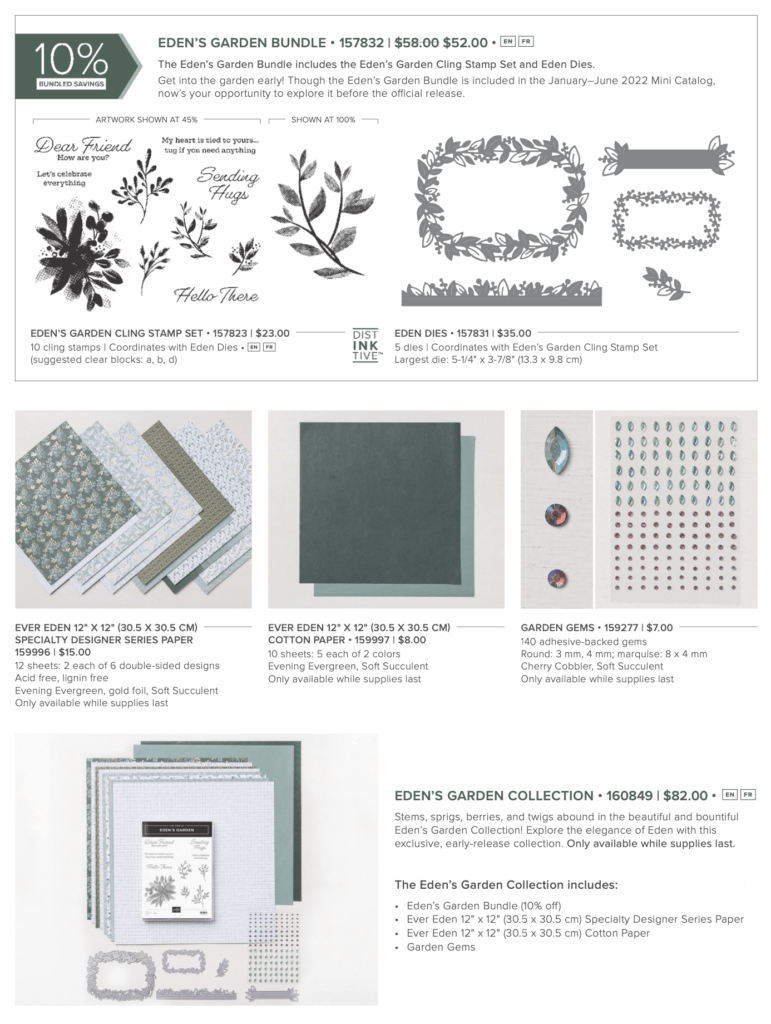
Sneak Peek Special – Eden’s Garden
Get the Eden’s Garden bundle (which will be in the January – June catalog) early along with some limited time coordinating Designer Series Paper, Cotton Paper, and Garden Gems!
